The Big Cheese Making Kit has had such success with it’s easy to follow kits for making a variety of cheeses at home that soon it is to launch the Ultimate Cheese Making Kit! This kit will be the king of cheese making kits and comes with an accompanied recipe book for delicious suggestions as to how to use the home made cheese in savoury and sweet dishes.
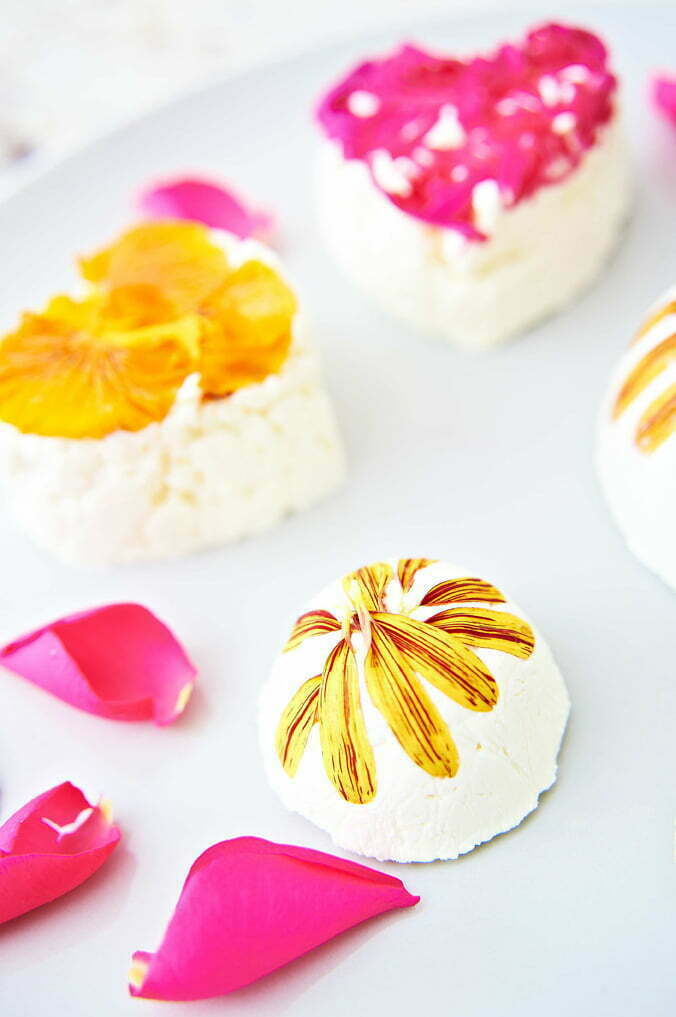
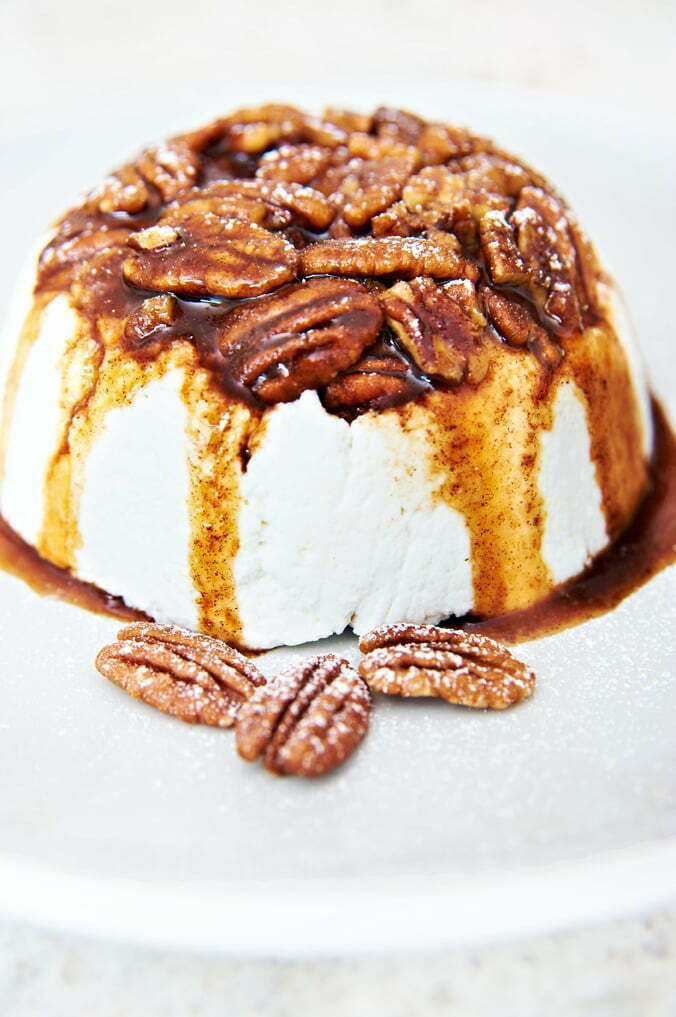
I was up in Edinburgh on location last week shooting food photography images for the home made cheese recipe illustrations in owner Ailsa Proverb’s now famous kitchen and these are samples you see below. The kits are sent worldwide and Ailsa recently received an MBE from the Queen for services to the Food Industry after only a short time in business. Bravo! Say cheese Queenie!
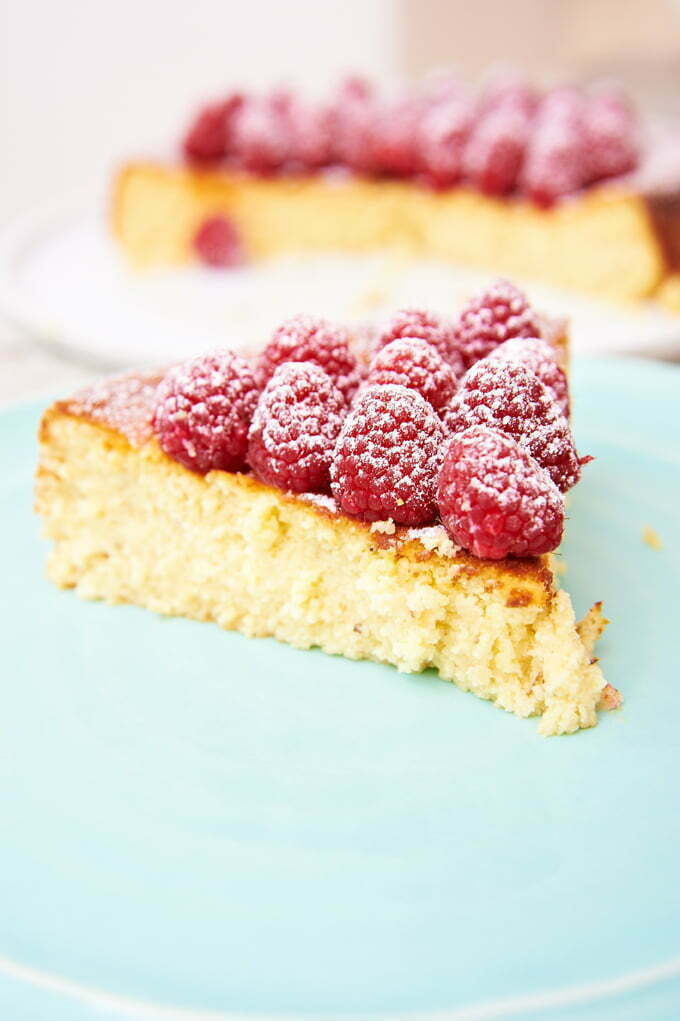
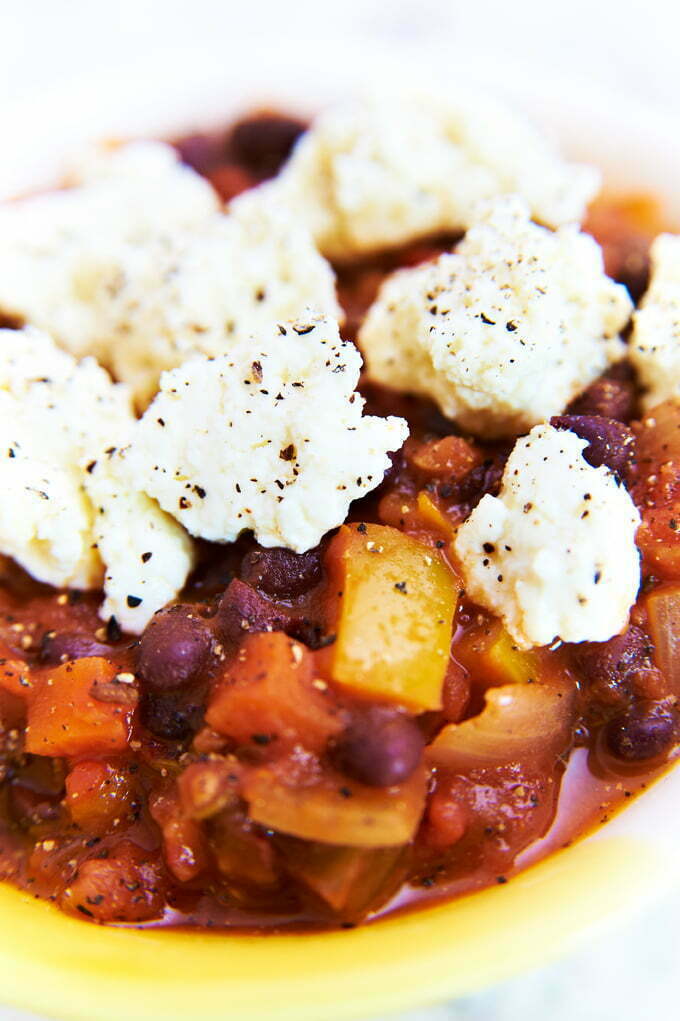
Here are a selection of images from the two days we spent in Ailsa’s fabulous kitchen. Photography tips are below for anyone wanting help and hints on food photography on location.
Macro Lens & Food Photography on Location Photography Tips – The Basics
So my blogs are taking a new angle now as we all know the internet is rather old fashionably known as the ‘information super highway’ so I thought it important to start offering more informative photographic help and tips.
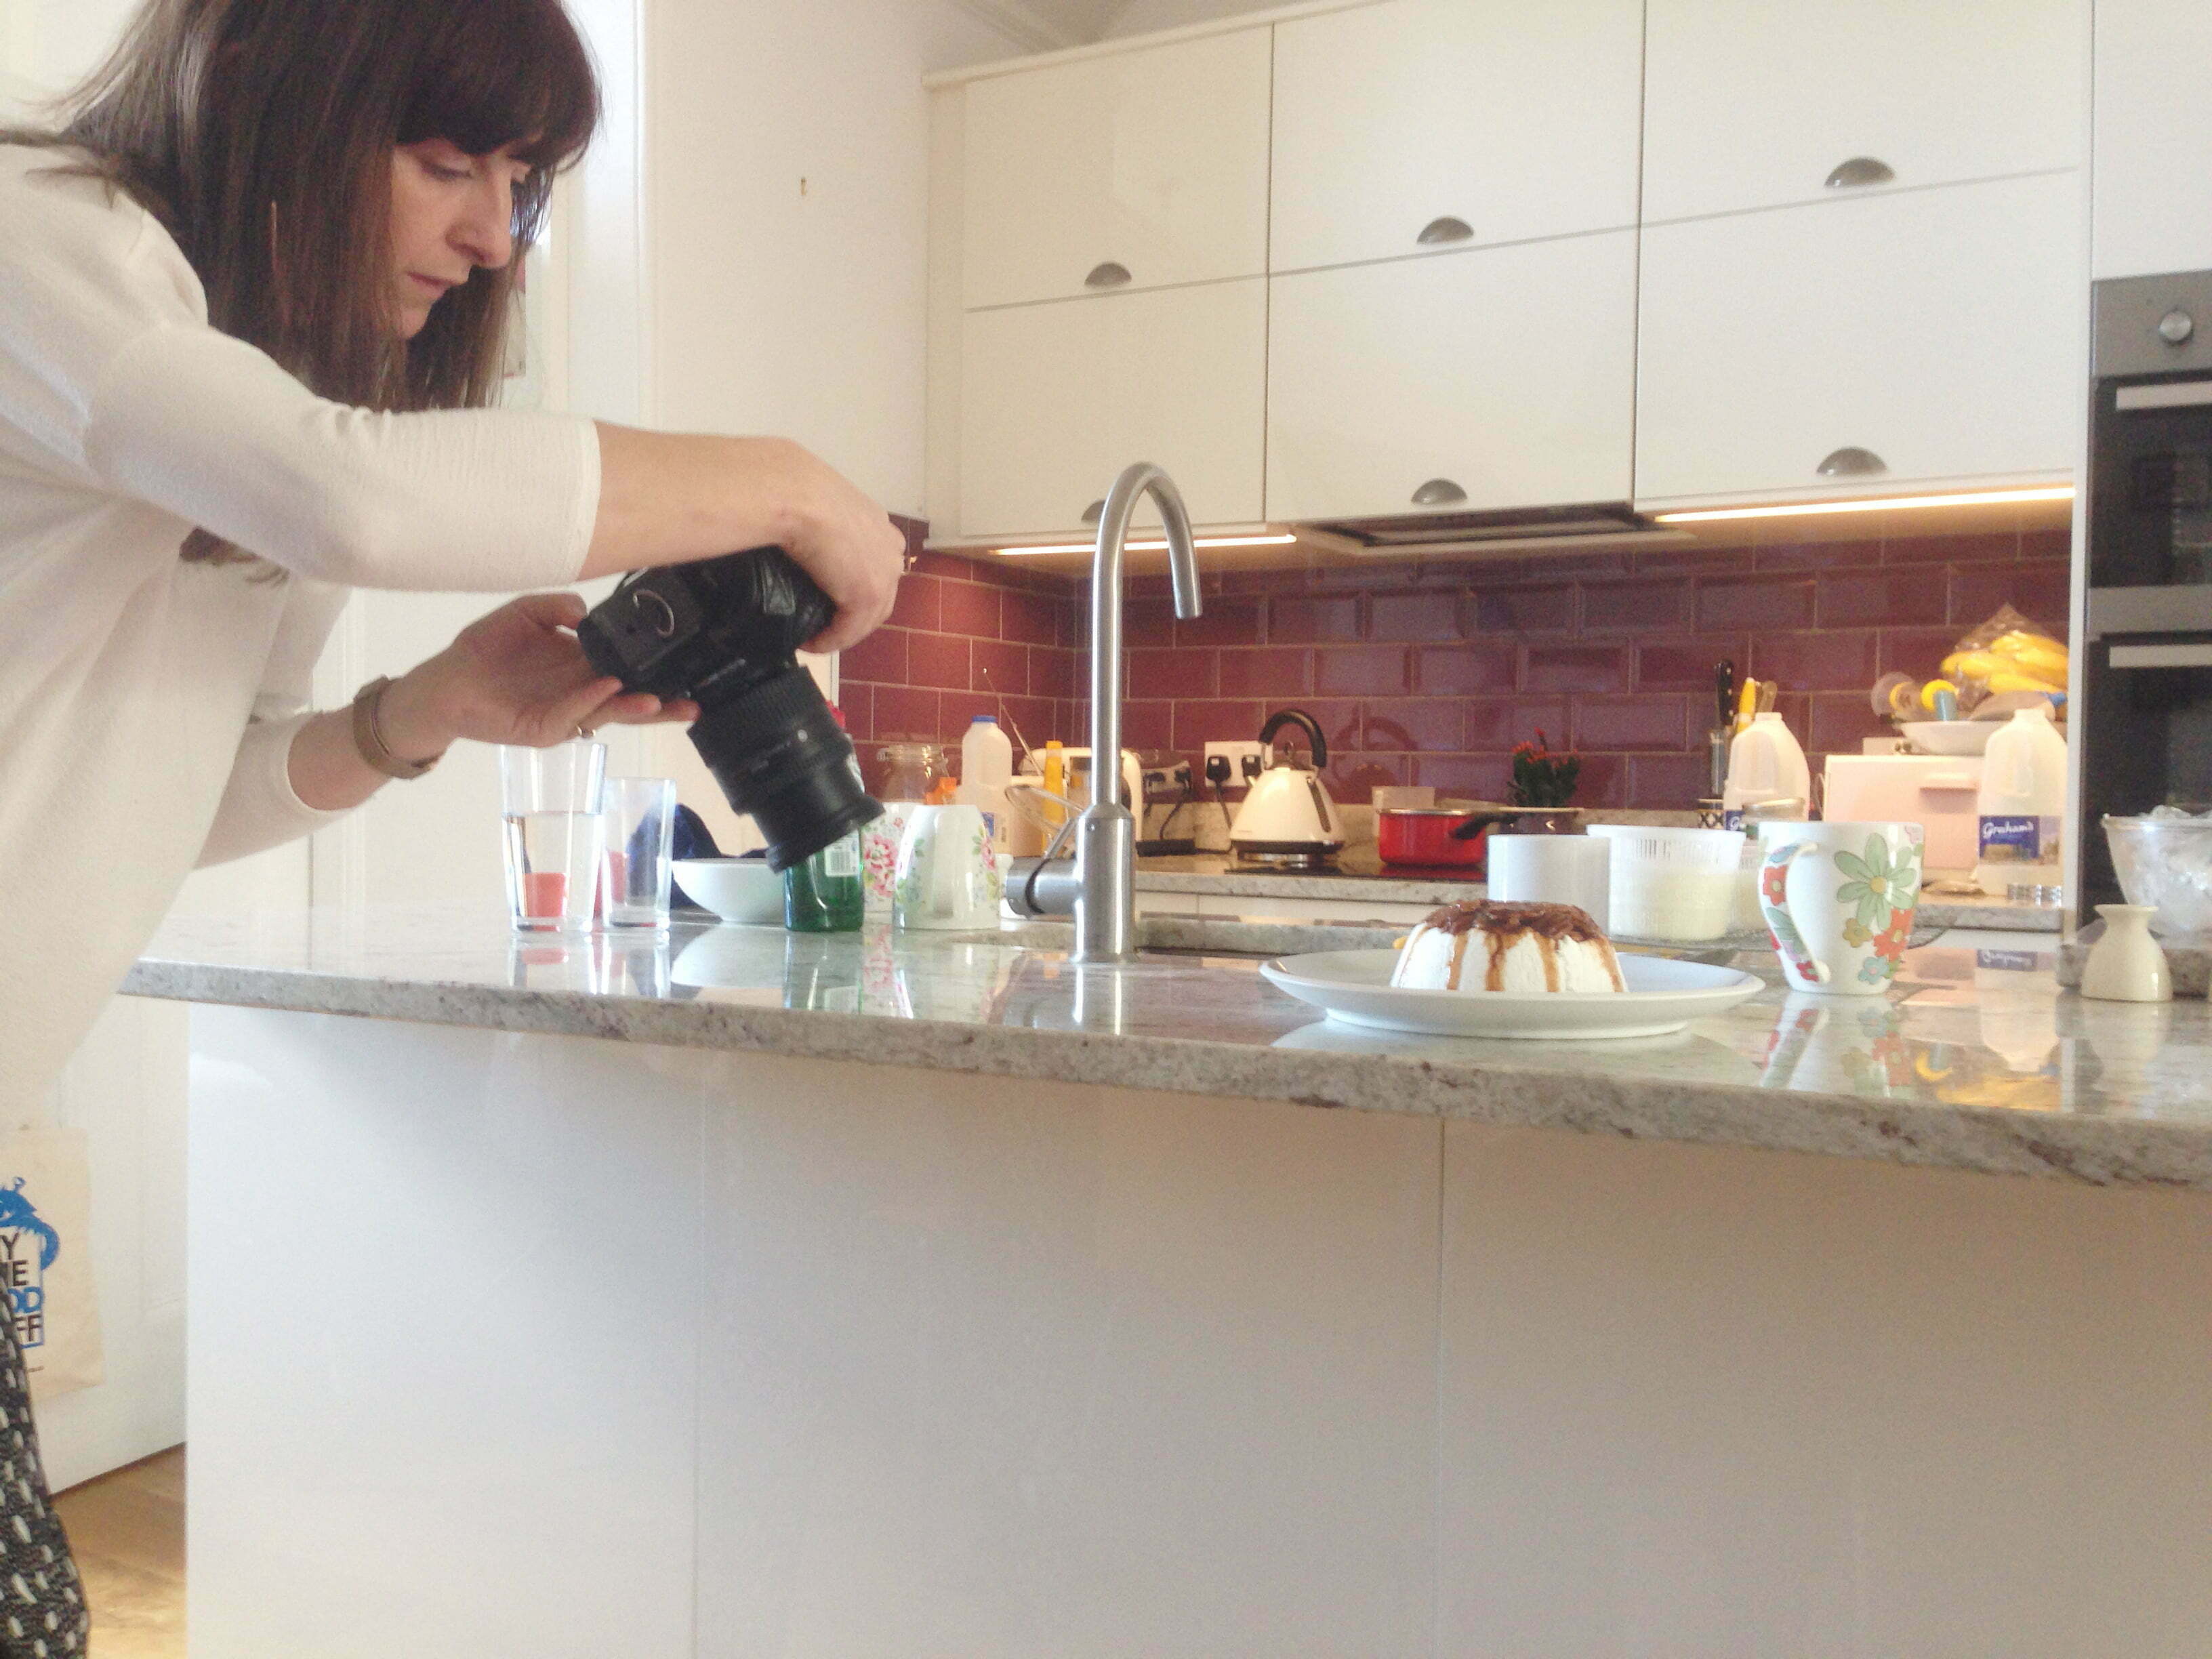
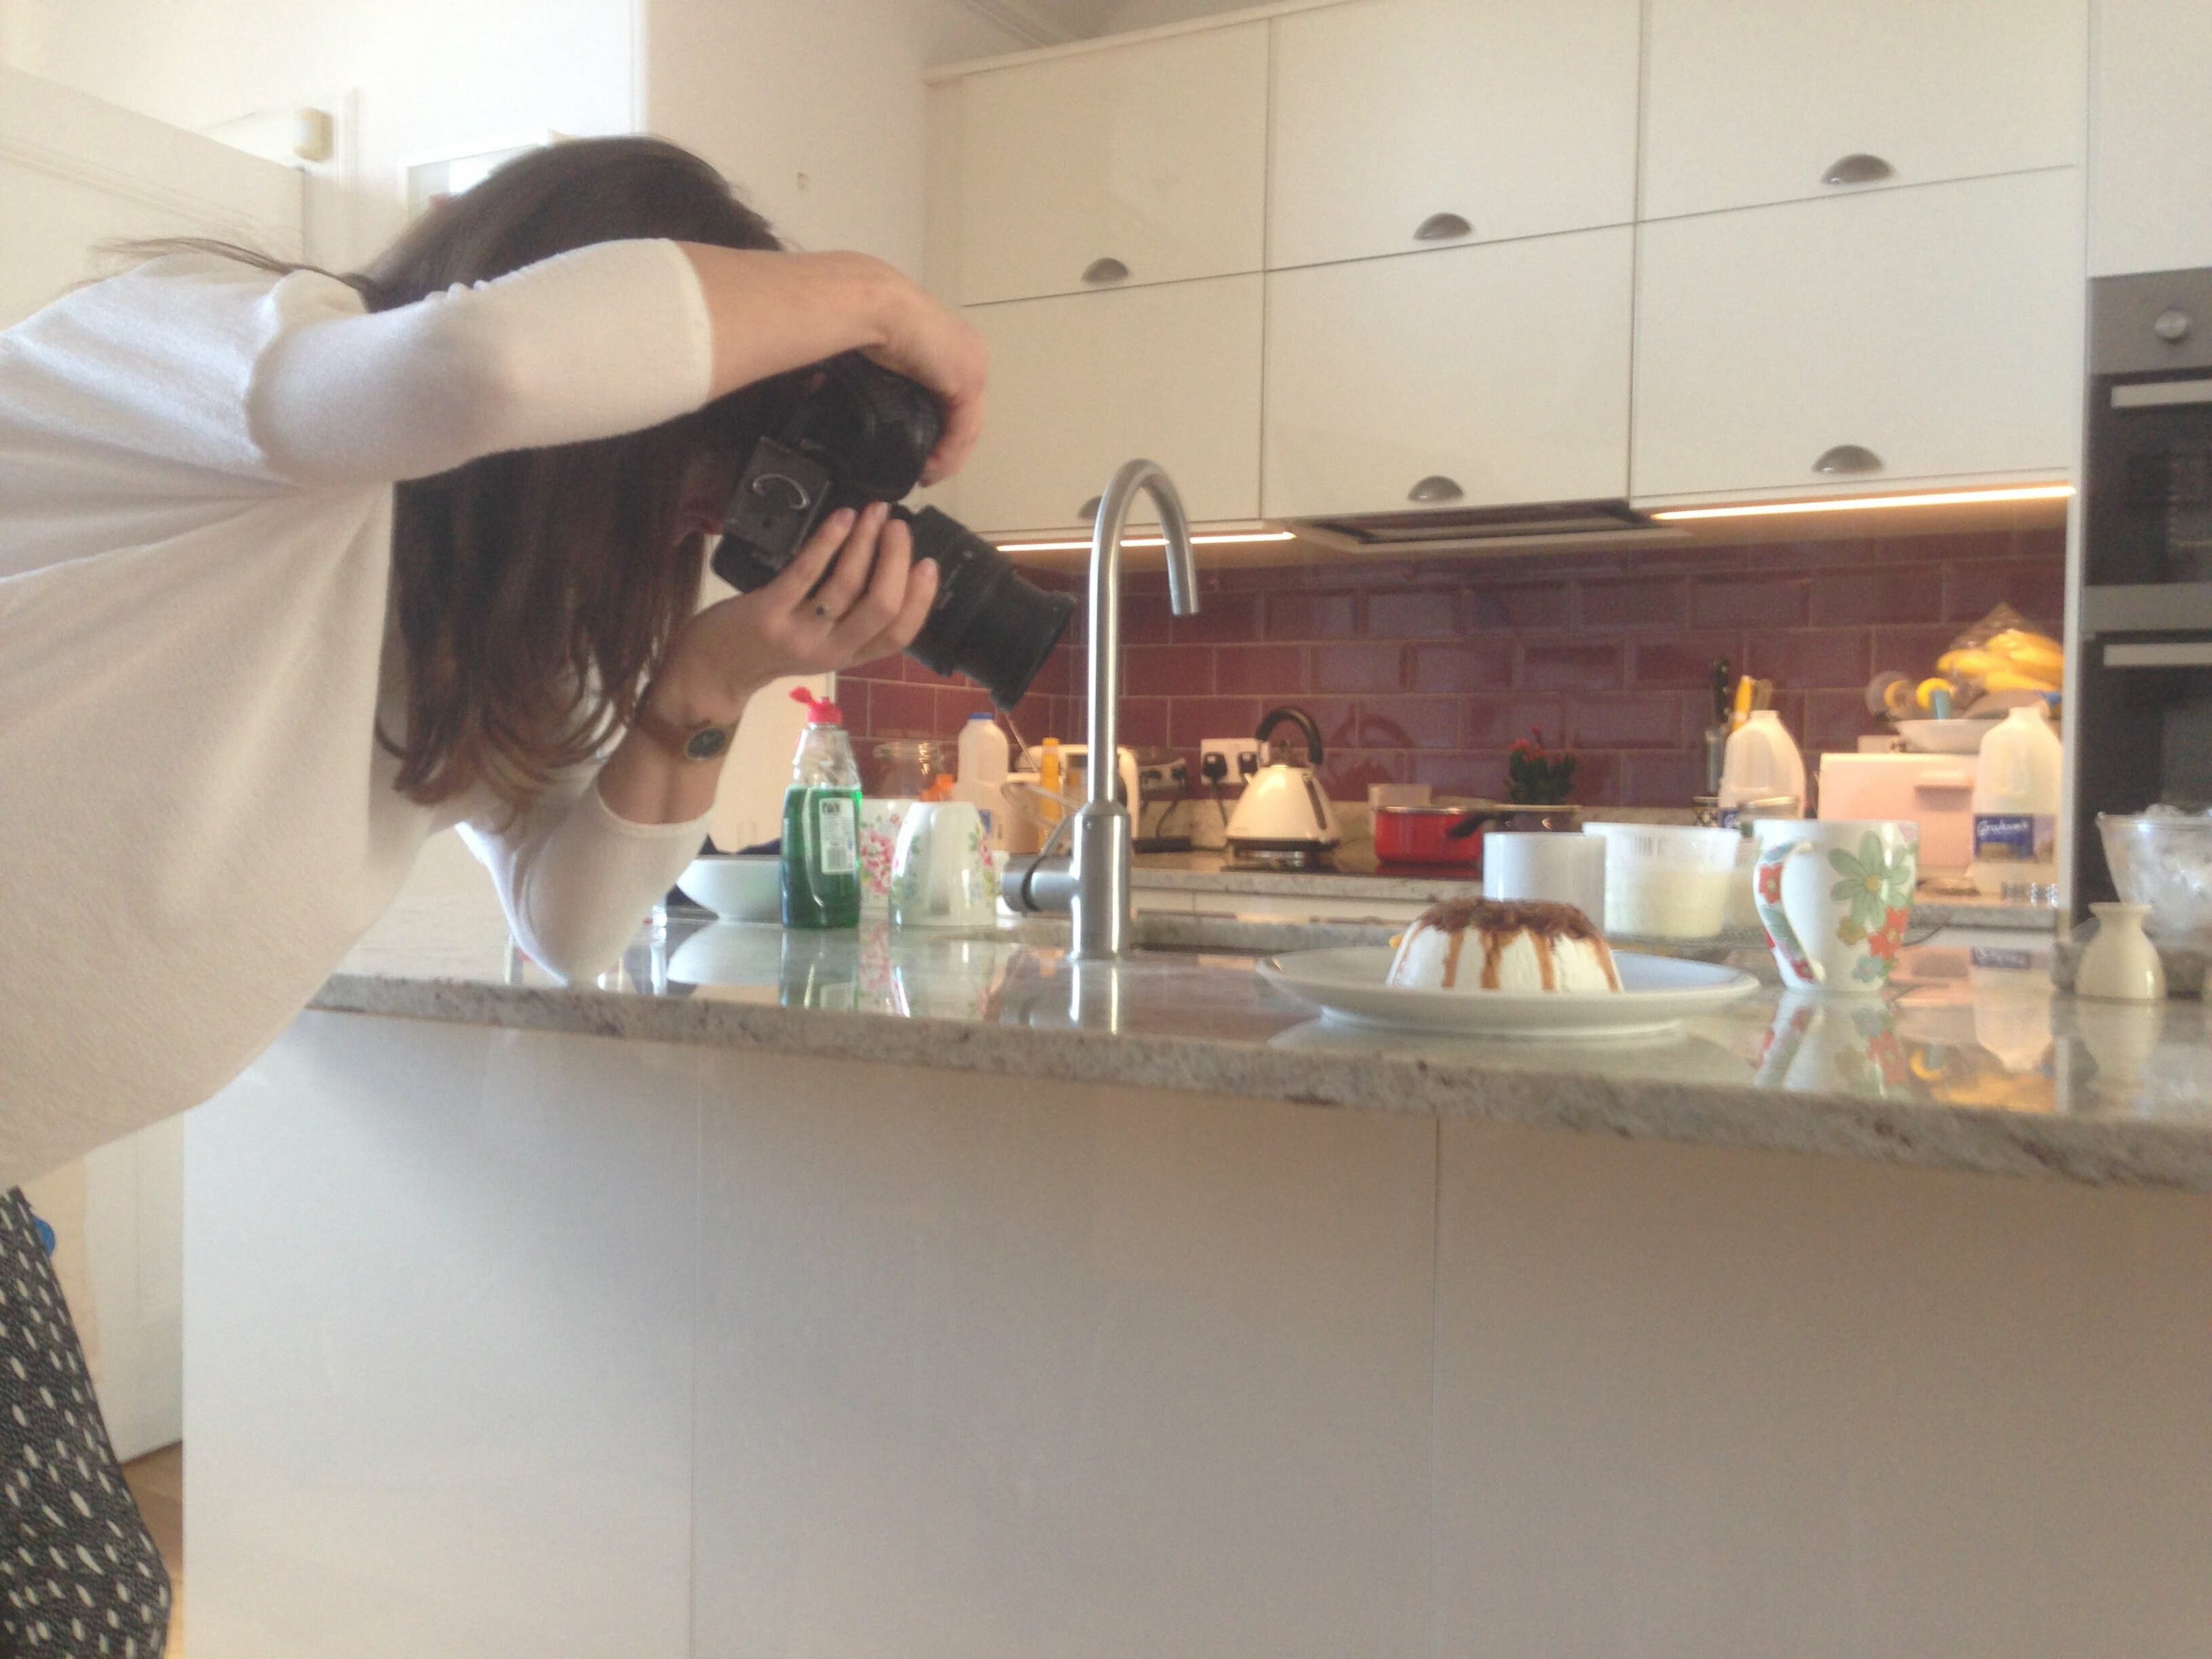
So to set the scene for well lit light and attractive food photography on location I needed elements of studio photography to be taken to the location. I used one flash 400 head with a 1m x .5m soft box bounced onto the ceiling to avoid harsh light bleaching out the white texture of the homemade cheese as much as possible. In terms of kit, I shot with my Nikon D700 (full frame) and I used my 24-85mm Nikon lens with built in macro to get detailed mouthwatering close ups of the ingredients. I shot on macro setting throughout and used the zoom on full 85 for some close up compositions.
Food photography really benefits from a shallow depth of field, so an f-stop of around 2.8 to 3.5 will give you the sharp focus and extreme blur in one shot. My shutter speed was 125 and ISO was 250 fairly statically as the flash head kept light constant despite the nearby window. Try not to rely on natural light as you will be struggling with setting changes if the sun goes behind a cloud. But do try to mimic the way that natural light can cast gentle shadows from a natural source like a window. NB when using shallow depth of field, you must be careful to highlight the correct part of the food in the photo and for this we had the mantra that ‘cheese is king’!
Ailsa’s colleague Alison had prepped most of the food the day before as most would be typically served cold or cool. This takes the pressure off as hot food wilts and hardens as it cools and becomes unattractive so the window to shoot is much smaller. We also had carefully chosen props with subtle shades with small splashes of colour on the crockery for the styling. So the prep had been paramount to the success of this shoot.
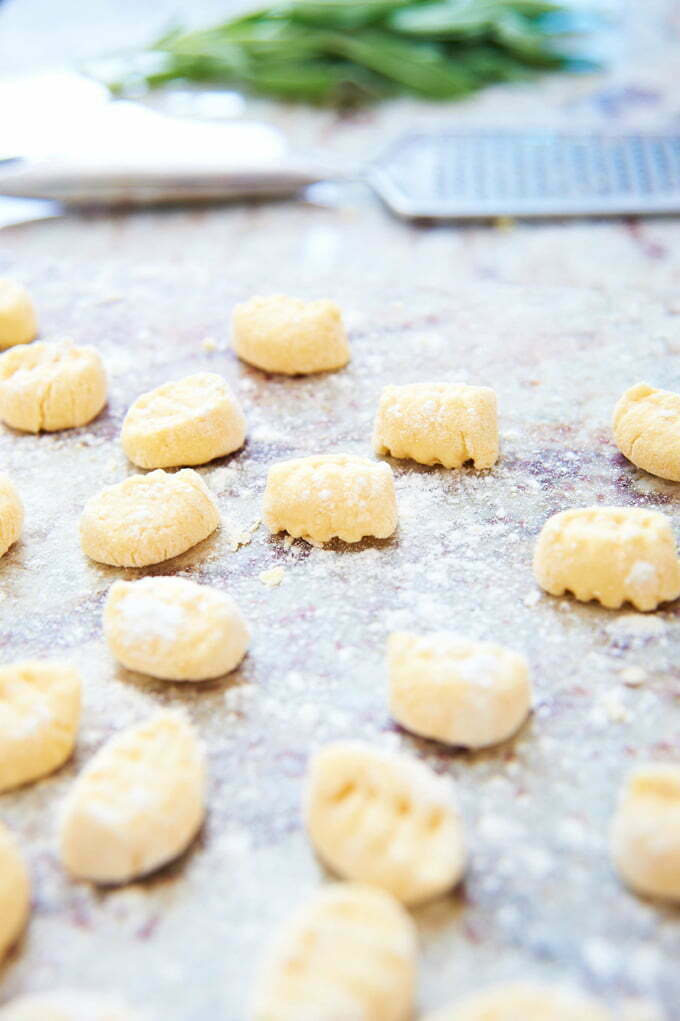
If you are doing lots of close ups then it’s a lot easier to work in a location environment as little of the backdrop will be included, so a little mess can be allowed! If you want some backdrop blur of the natural environment then remove any strong coloured items that may distract from the food, particularly red. You can also have relevant props blurred as I did with the Gnocchi shot leaving the parmesan grater in the backdrop. The macro lens was used throughout this two day shoot as it will enhance the recipe book by helping the reader identify the ingredients easily and imagine how it might feel and taste in the mouth as they eat it. You can get in really close and select the most attractive part of the dish. There is a lot of experimentation with this type of photography so it is a lot more time consuming that most. Although as you image extremely rewarding too!
